
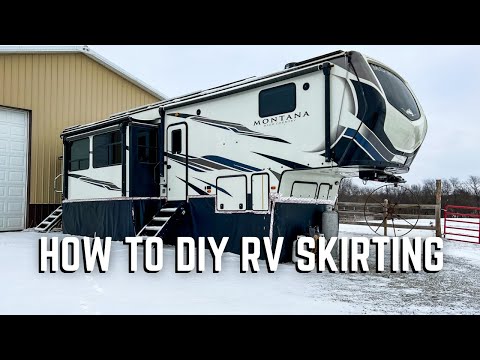
When we decided to stay in Illinois for the winter, we knew we would have to do something to insulate our 5th wheel from the cold temperatures. Tucker started doing research, and ultimately, we decided that DIY RV skirting was our best option.
I was going to share how we did our RV skirting at the beginning of winter, but I am glad I ended up waiting. As you will see in this post, it was quite a learning experience, and I am happy to be able to share the lessons we learned with you as well.
I will be sharing everything that we did from beginning to end, and hopefully, that will help you be able to decide how best to do your RV skirting.
This post may contain affiliate links. As an Amazon Associate, I earn from qualifying purchases. I may receive a small commission when you make a purchase using my link. Read our Disclaimer Policy for more info.
Commonly asked questions about DIY RV skirting
Before we get into the details, though, let’s review a few questions RV owners might have.
When and why should you add skirting to your RV?
If you are going to be staying stationary in a cold climate over winter, it is usually best to insulate your rig in one way or another. Skirting for us was the option that made the most sense.
Our fifth wheel came with a 4-seasons package (sometimes known as an arctic package), but we knew from previous experience as full-time RVers in winter that it was not enough to rely on.
Our pipes and holding tanks have frozen on more than one occasion in the past, and we didn’t want to deal with issues during the cold weather again.
Even though we have lived in our RV for over four years, this was our first time being stationary over winter. If you are regularly moving and traveling then the RV skirting we are showing you today would not be the best option.
Additionally, some RV parks only allow certain RV skirting solutions. Be sure to check the park rules before adding skirting to your travel trailer if you’ll be staying in a campground during the winter months.
Adding skirting to your RV is one of the best things you can do when RVing in winter.

How expensive is RV skirting for winter, and what kind is best?
There are many different kinds of skirting options that you can put on your RV. Ultimately, you will have to research and decide what type of DIY RV skirting solution is best for you.
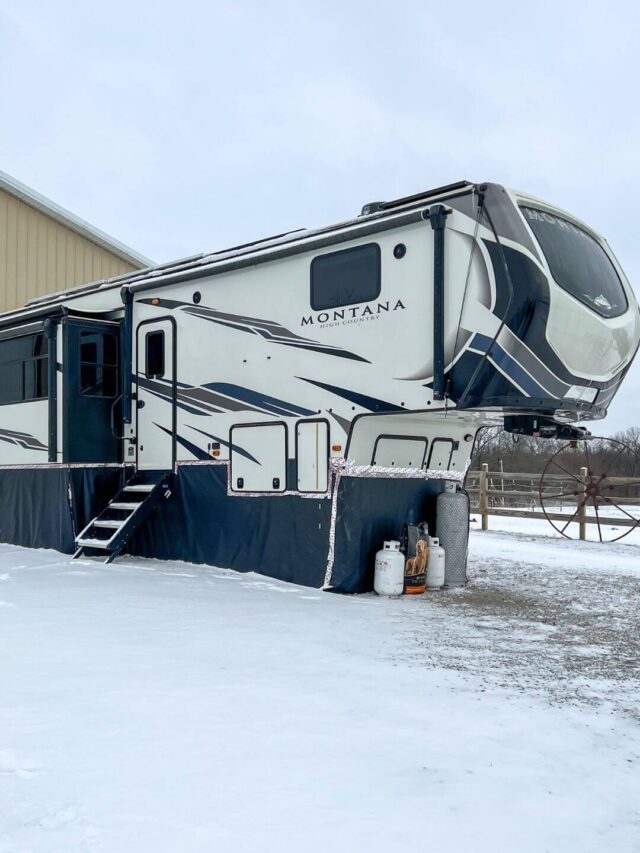
A lot of RVers chose to use foam board skirting material, but we used billboard vinyl skirting instead.
The foam boards are usually cheaper, but we wanted to go with vinyl because the heavy-duty material is more durable and provides better insulation from the cold air.
The price difference between installing it yourself or having it done by skirting pros is also significant. One of the main reasons that we decided to do our own was to save money.
We will share the price breakdown of our DIY RV skirting at the end of this post.
There are also RV skirting kits available that you can purchase with skirting panels, but once again, it is probably cheaper to do it yourself than buy a custom RV skirting kit.
Here are the most common types of RV skirting:
- Foam board insulation
- Inflatable RV skirting
- Vinyl skirts
- Plywood skirting
- Plastic sheeting
- Hay bales or straw bales
Whatever DIY RV skirting options you may choose to use, just make sure you use a quality product so it will last through the winter.
How difficult is it to do your own RV skirting?
I wouldn’t say that it was extremely easy to install our skirting, but we didn’t have too much trouble with it.
It is easier if you have 2-3 people to be able to help.
It took us about three days of working on ours to have it finished.
Ok, let’s jump into how we did our skirting and everything we learned along the way!
Materials needed/used

- Billboard Vinyl Tarp
- Crop-A-Dile
- 3M Tape Primer
- 3M Adhesive Snaps
- Snap Buttons
- Tape Measure
- 3M HVAC Tape
- Temperature Monitor
- Marker or Sharpie
- Scissors
- Rubbing Alcohol
- Rags
- Bricks/Heavy Weights
Prefer to watch? 👇🏼
Phase 1 of our DIY RV skirting project
Prepping the skirting


The first round of skirting we put up was a multi-day process. As already mentioned, we decided to go with vinyl tarping for our travel trailer skirting.
For the first step, we started by measuring, measuring, and measuring again, haha!
Triple-check all of your measurements to ensure everything is correct before making any cuts.
We laid the vinyl tarp out on a picnic table and used a Sharpie to mark where we needed to cut as well as where we needed to place the buttons and snaps.

We placed them 1″ down from the top of the tarp and 18″ apart from each other.
After marking where each button would be placed, we used the Crop-A-Dile tool (a grommet tool) to punch a hole in the tarp.
Then, we inserted and attached each button, and then attached the button to the 3M adhesive snaps.
This process will probably make more sense if you watch the YouTube video at the bottom of this post.
Try to find a balance of working with sections that are small enough that you can easily manage them but not too small to where you will have a ton of seams to fix.
We used our slides as natural sections, each a different size. We intentionally left several extra inches on the end of each seam so that they would be easier to patch up.

Hanging the skirting
To clean the area where we attached the adhesive snaps, we used rubbing alcohol on a rag first, followed by 3M tape primer. This ensured a good seal to the trailer.

We placed them on the black sheeting on the lower half of the rig and avoided putting them on the fiberglass as much as possible.
It was a 2 or 3-person job to hold everything in place, attach the sticky buttons, and firmly press them to the trailer.
Once we got things figured out, we were able to get into a good groove, and it got easier.
We were stationary on a gravel lot, so using stakes to keep the base of the skirting secure wasn’t an option.
Instead, we used heavy bricks and chunks of concrete to weigh down the extra material under our RV.
We cut a hole in the side of the skirting where our tanks dump for easy access. We used Velcro to make a removable patch.
This was one of our best RV skirting solutions.
Monitoring the efficiency of our skirting
We needed to be able to know the temperature under our RV skirting to be able to monitor and prevent any possible issues.
Tucker ordered this outdoor temperature monitor system. It has three wireless sensors, so we placed one near the back of our rig, one near the front, and one in our underbelly storage area.

We placed the monitor in our bedroom and could keep an eye on the temperatures under our rig at all times!
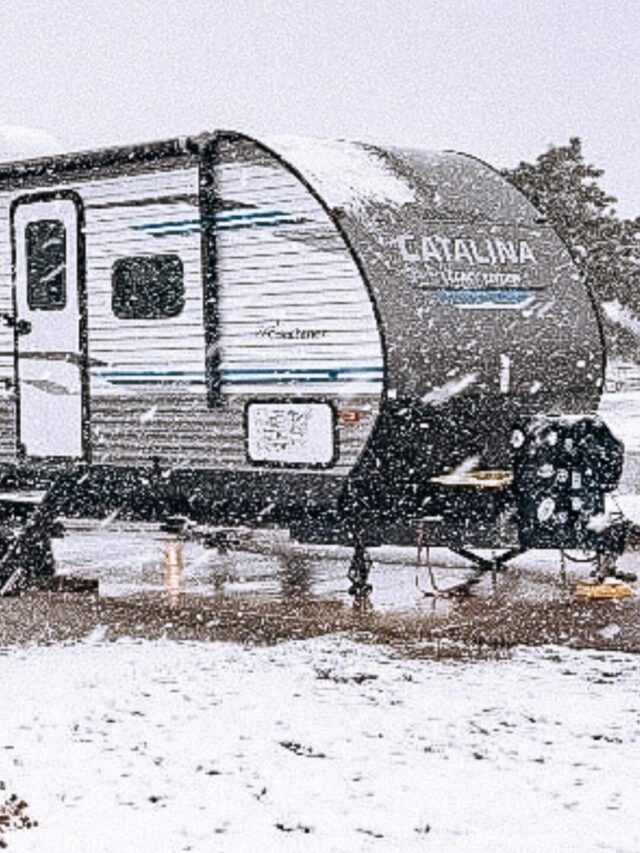
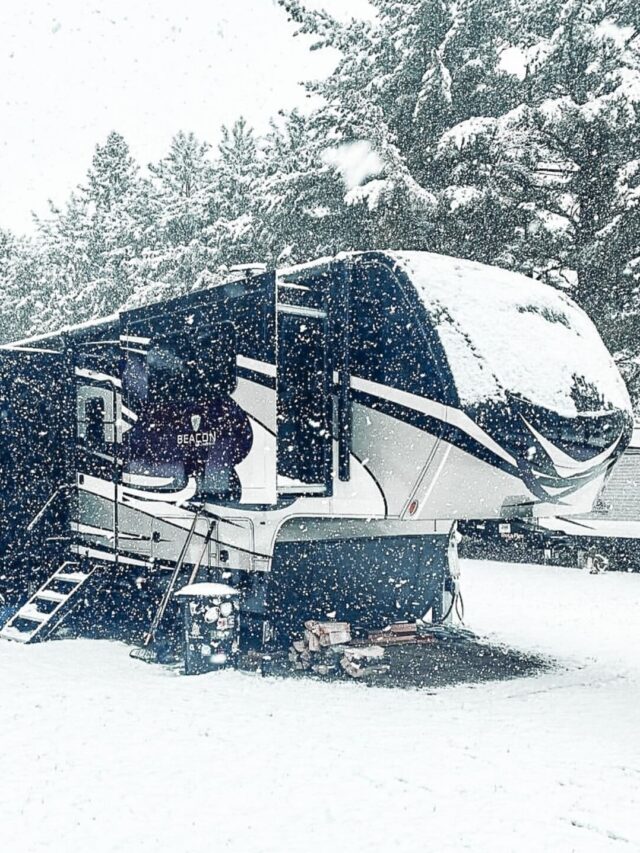
I’m happy to report that we never had our pipes or tanks freeze, even once during the winter.
I was really happy with this, considering we had sub-zero temperatures and a lot of snow on multiple occasions.
Without our RV skirting work, our water lines would have frozen.
The skirting allowed warm air to be trapped under the bottom of the RV, keeping the plumbing system from busting and costing us a lot of money and a lot of time.

Two months later…
I wish I could say this is where our happy story ends, and everything worked out perfectly, but that’s not what happened, haha!
Unfortunately, some freak severe storms came through in December with high winds (there were even tornados nearby), and a lot of our skirting was pulled off of the rig or torn.
It was quite discouraging to have our hard work destroyed, but thankfully, Tucker was able to come up with an idea to save it all.
We ended up purchasing 3M HVAC Tape and used it to hold the skirting up on the rig. It also made a great double to seal all the seams airtight.

The reason we didn’t use duct tape was that it would have left a sticky residue on the trailer, which we were trying to avoid.
So, the HVAC tape was a great option instead.

Lessons learned
What we would have done differently
At the end of winter, we re-evaluated everything that we had done and what we had learned along the way.
We came to the conclusion that if we were to do it all over again, we would have either a) used way less of the buttons or b) only used HVAC Tape and avoided the buttons altogether.
The buttons were one of the most expensive parts of the process, so eliminating them altogether would have made the process way cheaper and would have saved us a ton of time!
Price of the original skirting installation: $616.45
Price if we had only used the HVAC Tape: $326.78
How we kept our water hoses from freezing
Last year, we purchased heated hoses to use during the winter.
One thing that we didn’t realize, though, was that the gauge that determined when the heating elements would turn on or off was at the end where our hose connected to our RV.
Thanks to our skirting, the area where it connected stayed much warmer than the actual outside temperature.
Because of this, the hose was not always heating when it needed to, and it froze.
To fix the situation, we bought water hose reverse adapters so that the temperature gauge was at the water pump instead. We didn’t have any further issues after that.
In Closing: How to DIY RV Skirting for Winter Camping with Vinyl
I hope you’ve found it helpful to learn from our process, mistakes, and all!
Find More RV Tips & Advice
- Advice to Newbie RVers from 32 Full-Time RVers
- 8 Tips to Prepare for RV Travel Days
- 21 Unique Jobs for Full-Time RVers
- 7 Important RV Living Safety Tips
- RV Tip: How To Keep Glass Plates From Breaking in an RV
- Winter RV Camping Guide: 13 Tips for RVing in Cold Weather
- Easy RV Hot Water Heater Maintenance Guide + Cleaning Tips
- 101 Inspirational RV Quotes & the Best RV Camping Captions
- The 60+ Best RV Games For Indoor & Outdoor Camping Fun
- A Full-Time RVers Complete Guide to RV Laundry Solutions
- 10 of the Best RV Plants to Grow in an RV
- The Ultimate RV Spring Cleaning Guide (+FREE Checklist!)
- 30+ RV Living Pros and Cons from Full-Time RVers
If you have any further questions about our DIY RV skirting, feel free to reach out on Instagram or leave a comment below.
Happy travels!

What was the lowest temp you had to deal with while using the vinyl and tape?
I don’t remember specifics but I do know that we had temps in the negatives.
What Mil Thickness was the vinyl you used?
Hello – great video and blog post, thanks for sharing! I am also wondering what mil thickness you used on the vinyl. Thanks!