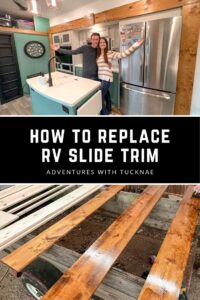
One of my favorite projects during our RV renovation was replacing the RV slide trim on all the slideouts.
The factory-installed slide trim is usually not aesthetically pleasing, so many RV owners choose to replace it.
Changing the original trim out for new trim can make a big difference in the overall interior of your rig.
In this post, I will walk you step-by-step through everything we did to replace the RV slide trim in our 5th wheel. Don’t worry; it’s easier than you might think!
You can use multiple types of RV slide trim, but in this post, we will share how to make basic, flat RV slide trim.
This post may contain affiliate links. As an Amazon Associate, I earn from qualifying purchases. I may receive a small commission when you make a purchase using my links at no extra cost to you. Thank you for your support! Read our Disclaimer Policy for more info.
Tools and materials needed for replacing RV slide trim
Tools we used.
- Prybar
- Hammer
- Tape measure
- Brad nailer
- Putty knife
- Air compressor
- Miter saw
- Table saw
- Caulk gun
- Quick-grip clamps
- Orbital sander
- Saw horses
Materials we used.
- Wood boards (we used pine)
- Stain
- Stain pads
- Sealer
- 220-grit sandpaper
- Cleaning bucket
- Cleaning rags
- Loctite adhesive
- Brad nails
- Wood putty

Demo and prep work for your RV slide trim project
You will need to do a few things to prep for your new RV slide trim.
Removing the old RV slide-out trim
Obviously, the first thing you must do is remove the existing slide trim. RV manufacturers typically secure it to the slideout frame with either brad nails, glue, or a combination of the two.
Removing the existing trim is typically what most people are afraid to do, but trust me, it’s not too difficult.
We found the easiest way to do so was by using a hammer and prybar to pry the trim loose from the slideout frame.
Once you loosen one section and start getting it off, the rest will be easier.
Prepping for the new RV slide trim
After you’ve removed all of the existing slide trim, you’ll need to prep for the new trim by removing any glue and nails from the frame of the slideout.
To remove any patches of glue adhesive, use a prybar to peel them off. The glue can be stubborn, so you might need a little patience.
For the nails, use the claw of a hammer to pry them out of the wood. You could also use the claw of your prybar, depending on the type that you have.
The nails can be challenging to find, so look from multiple angles. You can even (carefully) run your hand along the wood to check for any straggler nails you may have missed.
Purchasing lumber for your new RV slide trim
After you’ve removed the old slide trim and prepped your slide frame, it’s time to start working on the new slide trim.
Measure each slide out to find what size boards you need to purchase.
We used 1″x8″x8′ pine boards for the vertical pieces on the sides of each slide and 1″x10″x12′ pine boards for the horizontal pieces on the top of each slide.
Once you have the measurements for the wood you need, pick it up at your local hardware store and any other materials you might still need.
We purchased ours at Lowe’s and Home Depot.
As you pick out boards, check each one to ensure it is not bowed, and look for pretty boards with good grain patterns and minimal knots.
💡Pro tip: The finished product will only show one side of the board, so if there are slight imperfections on the back, it’s not a big deal.

Cutting, sanding, cleaning, staining, and sealing your RV slide trim
Once you have purchased your boards, it’s time to turn them into beautiful slide trim!
Cutting
The biggest rule of thumb here is “measure twice, cut once” to ensure you don’t make any cutting mistakes!
If needed, use a table saw to rip any boards that aren’t the width you need, and use a miter saw to cut your boards down to the proper length.
You could also use a skill saw if you don’t have a table saw or miter saw.
💡Pro tip: Some of the large hardware stores like Lowe’s will actually make basic cuts for you if you ask them to. This eliminates an extra step for you and is especially useful if you are nervous about cutting the boards yourself.
Not all locations offer this service, so call and ask in advance if you’re planning to use it.
Sanding
After cutting your trim, you’ll need to sand it. This is probably our least favorite step in the process, but it’s a necessary step nonetheless.
We used 220-grit sandpaper to give the wood a very smooth finish. Pay special attention to the ends of the boards where they’ve been cut.
You can also sand away any writing that may be on the boards from the factory.
Cleaning
After you’ve cut the boards, you’ll have to clean them. This gets all of the dust and dirt off, so you’ll be ready to stain next.
You can use a mixture of water and vinegar if you’d like, but we just used plain water and a rag.
Wipe each board down very well two times to ensure you don’t miss anything.
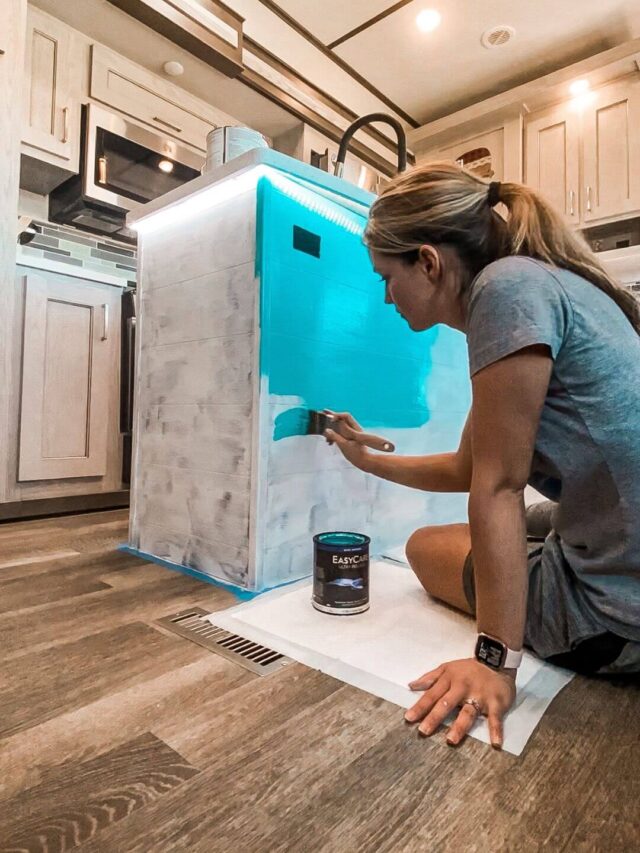
Staining
Now for the fun part! Staining the wood adds depth and character to it, and there are so many options you can choose from.
We used Miniwax wood stain, and the color we chose was Golden Oak 210B. Our dining room table was stained with the same color, so using it on our slide trim helped to pull everything together.
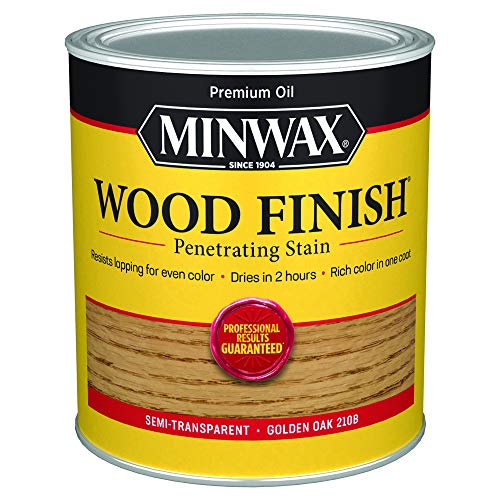
- Deeply penetrating color
- Dries in 2 hours
- For bare or stripped wood
Tucker used a stain sponge to apply the stain to each board. He did two coats on most of the boards, and on a few, he added a third coat to get the color right.
Follow the instructions on your can of stain to make sure everything is done correctly.
We let the stain sit on the boards for an hour before wiping it off and adding the next stain coat.
After we wiped off the last coat of stain, we let it sit for 4 hours before adding the sealer.
Sealing
The final step in this process was sealing the stain on the boards. We used Miniwax one-coat polyurethane.
Tucker used a paintbrush to apply the polyurethane, and then we let it dry for 24 hours to make sure it cured properly.

Putting the new RV slide trim in your RV
Now for the fun part: putting it all together! If you’re replacing the trim on more than one slide, you’ll want to complete the trim on each RV slide out, start to finish, one at a time.
After you bring the boards inside, set them in place using clamps before adhering them to the slideout frame.

- Non-marring pads
- 140 pounds of force
- High-carbon steel
This will allow you to check and see if any further adjustments need to be made to your boards before making them permanent.
Use a different clamp on each trim piece to make adjustments as needed.
When we set ours with clamps, we discovered that our left and right side boards were just a tad too long.
We got them trimmed and set back in place, and everything lined up perfectly afterward.
Adhering the new RV slide trim
We used heavy-duty adhesive and brad nails to secure the new trim in our RV. Since our home on wheels is moving and bouncing around every time we travel, we didn’t want to risk any of the boards coming loose.
First up, we used Loctite Power Grab heavy-duty adhesive.

- Heavy-duty
- White
- 4 pack
We used a caulk gun to spread a generous amount on the back of each board, and then we put the boards in place and used clamps to ensure they wouldn’t move before they were nailed in place.
Then, we used a 16-gauge brad nailer to place a generous amount of nails all across the boards.
Make sure you know what is behind the board before you nail it to avoid putting a nail somewhere it shouldn’t be, especially with the slide mechanism parts.
I don’t recommend relying solely on a sensitive adhesive; it’s best to use the brad nails as well.
Also, this should go without saying, but duct tape or another strong adhesive tape are not good options for the backside of the boards as well.
After we finished brad-nailing the boards, we were able to remove the clamps.
The final step was to fill the nail holes with wood putty. Miniwax makes a wood putty in the same Golden Oak color as the stain we used, which made the holes blend in super well, and it’s almost impossible to see them now!
If you use screws instead of brad nails, you can use a screw cover to hide the screw holes.

Final things we did for our RV slide trim replacement
Our custom RV slide trim centerpiece
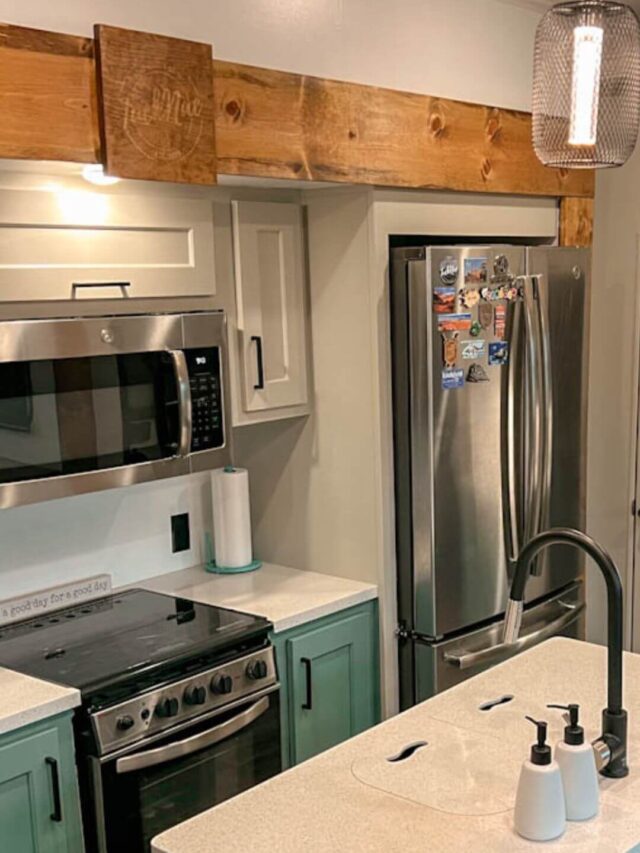
One problem that we ran into with our slide trim was that our largest slide (in the kitchen) was 12′ 4″, and our boards were only 12′ long. This led me to start brainstorming.
At first, we thought we would have to splice two boards together, but I was afraid that it wouldn’t look right. Then, I came up with the idea of adding a custom centerpiece!
We have a friend who owns an etching machine, so we asked him if he could etch our custom logo onto a small board for us.
We prepped the board exactly like the others. Tucker cut it a few inches taller than our trim so that it would stand out, and then he sanded, cleaned, and stained it.
Then we took it to get etched. It was a really fun process to watch! We put it through the machine twice to get the etching as deep as we wanted it. After the etching was finished, Tucker coated it with sealer.
We used the custom board to cover the gap in the center of the slide trim and added small pieces of wood from underneath to finish it off.
We only used brad nails to adhere it to the rest of the trim. This way, if we ever want to remove it and replace it with something else, it will be easier to do so.

Trimming out the base of the kitchen slide and the side of the slides
Our kitchen slide had a lip at the bottom of the slide that needed to be finished as well, so we knocked that out at the same time as the slide trim.
Tucker ripped a few pieces of wood to the right width and then nailed them into place.
This completed the look of the slide and tied in well with the slide trim.
We also added trim on the side of the slide that was showing to hide the slide seals and gears.
In Closing: How to Replace RV Slide Trim
And there you have it! That’s our step-by-step guide for replacing the RV slide trim during our renovations.
Do you plan to replace the RV slideout trim in your travel trailer, too?
In the future, I would also love to add faux wood beams across the top of the ceiling using the same stain color.
Find More RV Renovations & Inspiration:
- 21 Beautiful RV Kitchen Renovations & Ideas
- 21 Stunning RV Renovations & Amazing RV Remodel Ideas
- 21 Gorgeous RV Bedroom Makeovers & Cozy Remodel Ideas
- 21 Colorful RV Renovations
- 23 Cozy RV Bunk Room Ideas For Renovating & Decorating
- 26 RV Bathroom Renovations and Remodel Ideas
- 21 Beautiful RV Wallpaper Ideas for DIY Camper Renovations
- 20+ RV Office Setup Ideas for Digital Nomads
I hope you’ve found this guide helpful. Please feel free to reach out if you have any further questions!

Side note: If you’re having trouble with your RV slide sticking, making grinding noises, or tearing your flooring, you might want to consider having a slide ski installed. You can do it yourself or have your local RV dealer install it for you.