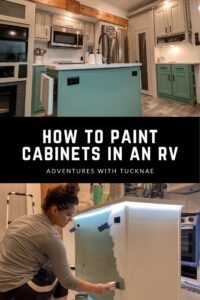
It’s become quite popular recently for people to renovate their RVs. One of the most common things people want to learn to do is how to paint RV cabinets and walls.
This is a great way to refresh any space instantly and fairly easily. Today, I want to share with you a step-by-step guide on how to paint your RV cabinets!
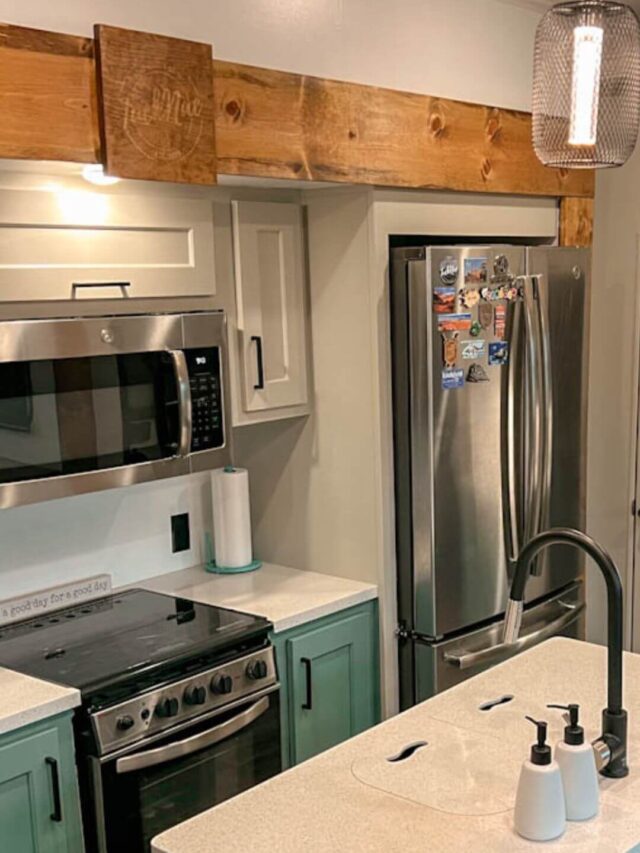
The most recent project in our 5th wheel was painting our kitchen island, which I will likely be referring to most often in this post. However, the things I’m sharing with you apply to any cabinet painting projects in your RV.
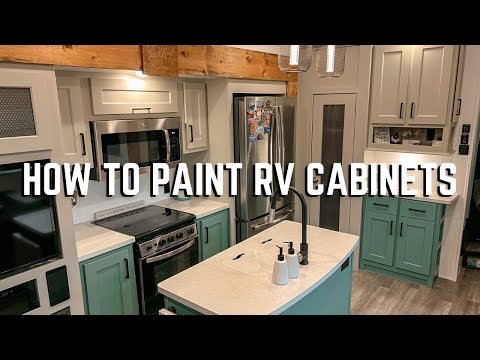
Update: In 2023, we repainted the lower RV kitchen cabinets and the island a light green and painted the kitchen cabinets a light grey. We also replaced the slide trim in our RV.
You can find all the details of our RV kitchen renovation in our detailed blog post next.
Ok, let’s get right into how to paint RV cabinets!
This post may contain affiliate links. As an Amazon Associate, I earn from qualifying purchases. I may receive a small commission when you make a purchase using my link. Thank you for your support! Read our Disclaimer Policy for more info.

How to do the Proper Prep Work for Painting RV Cabinets
Prepping is perhaps one of the most important parts of any RV painting project. If you don’t prep things correctly, you might end up with problems like paint peeling or even a bigger mess.
We like to do a few things to prep for our projects before we ever crack open a can of paint. These steps are all necessary whether you have real wood or fake wood cabinets in your RV.
Remove any hardware, drawers, and doors
The first thing you need to do is grab a drill and remove everything from the cabinet base. This includes hardware like handles, drawer stops, and cabinet doors or drawers. You’ll also need to remove any outlets or other accessories where you’ll be painting.
You can either keep the hardware original, paint it, or replace it. We chose to use spray paint and paint ours black.
All of the following steps will need to be done on any drawer fronts and cabinet doors as well. I like to take them outdoors and paint them there to help with fumes as well as spread out my workspace.
Repair and sand all surfaces thoroughly
If there are any chips or unwanted holes in the real wood of your cabinets, you can use a wood filler to repair them. Make sure to let them properly dry according to the directions on the filler you’re using.
Sanding is a super important step! Trust me, it’s not a fun one and makes a huge mess, but it’s definitely worth it!

We tested out skipping sanding on some of the cabinets during our bathroom renovation and found that the paint doesn’t stick as well.
Sanding allows the paint to grab hold better and lets the paint stick. This means it is less likely to peel off.
We (and by we, I mean Tucker haha) sanded the island really well and have had zero issues with paint peeling even though it’s been over a year since then.
I know you wish I weren’t telling you this, haha! But trust me, don’t skip sanding.
Clean up from the sanding
After you’re done sanding, make sure to clean everything up really well. Personally, I used a microfiber cloth with just water and it got everything up.
You don’t want any dirt or sawdust being left behind as it can get into your paint job and mess up the texture/finish.
Another thing I’ve started doing is having two cleaning buckets. One with water and a dash of vinegar, and one with just plain water.
I start by wiping everything down with a rag dipped in the vinegar water, and then I follow up one more time with a rag and the plain water.
I’ve noticed that doing this system can make a huge difference!
Tape everything off
Next up, grab your painter’s tape! I like to use this 1-inch painter’s tape, but you can use whatever you prefer.

- Creates sharp lines
- Indoor or outdoor use
- Multi-layer paint bleed barrier
Very carefully place the tape around any surfaces that need to be protected.
I usually put it on the floors, any walls I’m not painting, around light fixtures, and electrical outlets.

Some people choose not to tape anything, but I am far too messy of a painter and need the extra protection!
If you’re excellent at cutting and not making messes, go for it! I am not, haha!
You can also lay down drip clothes or newspapers to protect the floor and any furniture that may be nearby.
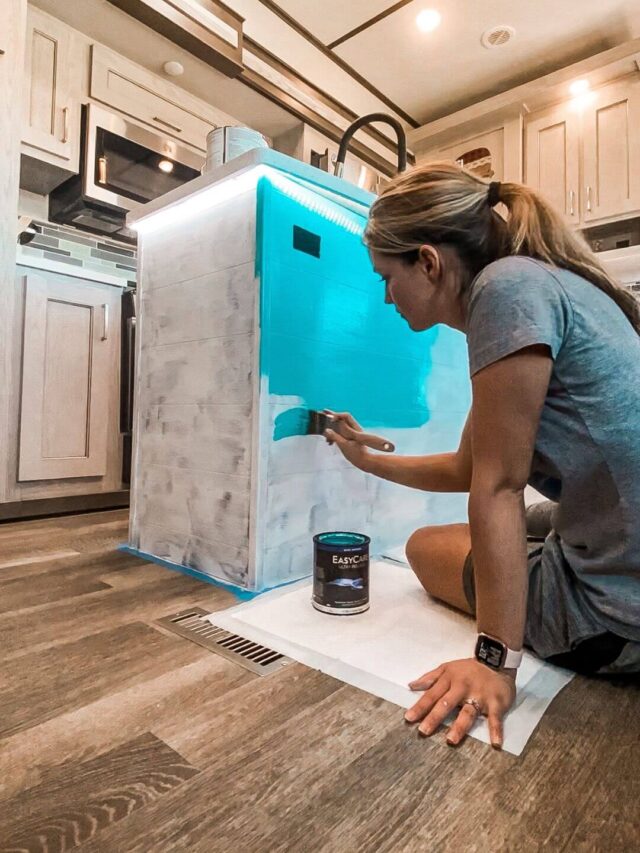
Pro tip: Puppy pads actually make a great mobile drip cloth. When I painted our RV island, I used a puppy pad to set my paint can on and scooted it around the island as I painted.
It caught several drips and was super easy to clean up and throw away when I was done!
Prime the cabinets before you paint
Now that your prep work is complete, you’re ready to prime your RV cabinets.
By the way, these are the same steps you would take if you were going to put wallpaper in your RV.
The best primer for RV cabinets
One of the most common questions I am asked is what primer I like to use. I use Kilz oil-based primer for all of my RV painting projects.
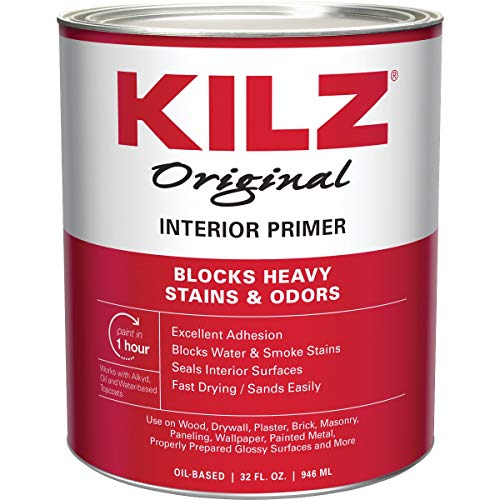
- Oil-based
- Paint in 1 hour
- 24 hour full-cure
It works really well, and it also dries quickly. I recommend using an oil-based primer instead of a water-based one.

You can get it at most hardware stores and I believe even most Walmarts carry it in-store.
I like to keep a gallon on hand when working on projects, although it stretches pretty far. I also use the same primer for our camper walls.
Make sure that you are in a well-ventilated area when using it. If there are windows nearby, open them to let the fumes escape.
This primer is very strong and has a strong odor. It usually makes my eyes water/burn, so use protective glasses if needed.
I only apply one coat of primer. As I mentioned earlier, it dries very quickly. It’s usually dry to the touch in about 30 mins and I’m able to paint shortly after that. Use your own discretion according to what the can of primer says.
Painting your RV cabinets
Finally! You’ve prepped and primed, and you’re ready to paint! I like using a paintbrush for primer and paint, but you can also use foam rollers if you’re more comfortable with that.
Some people even choose to use a paint sprayer, which saves time and eliminates brush strokes.
I always do 2-3 coats of paint, depending on the color. Darker paint colors tend to need a third coat.
You can always go over it and touch up a few spots without applying an entire third coat of paint as well, if needed.
I recommend you paint over all surfaces at least two times.

The best paint for RV cabinets
What type of paint you use is really a personal preference. I know many RVers have used chalk paint on their camper cabinets, but I don’t have any personal experience with that.
There are a lot of possible paint types you can use, and a lot to learn about paint types.
I like to use EasyCare Ultra Premium Satin Interior paint from the local hardware store. It is an acrylic latex paint that is easy to clean.
Do your research and decide what paint is going to be best for you and your needs.

Don’t forget to also do these same steps for your cabinet doors and pull-out drawer fronts.
Finishing up
Yay! Now you know how to paint RV cabinets, and all that’s left is a few finishing steps.
Cleaning up is the easy part. Pull any tape off and throw it away, clean up any accidental splatters of paint on unwanted surfaces, and reinstall the hardware and drawers/doors after everything is properly dried.
If you choose to follow up with a clear coat of sealer, you can, but we don’t find that it is necessary to add a top coat with the type of paint that we use.
How to paint RV walls
The steps for how to paint RV cabinets and walls are very similar. The only main difference when painting RV walls is that you do not want to sand them.
You will still need to clean them very thoroughly, but skip the sanding and go straight to the primer. If you sand your RV walls, they will lose their texture, and the paint will have a harder time adhering to the walls.
FAQ
What kind of paint do you use on RV cabinets?
The best paint to use on RV cabinets is satin interior paint. Whatever paint you choose to use, just make sure you prep and prime it in advance. Other popular choices are oil-based paint and chalk paint.
How do you get paint to stick to RV cabinets?
The best way to get paint to stick to RV cabinets is by using 220 grit sandpaper to rough up the surface before you paint. This gives the paint something to grip and decreases the chance of the paint peeling from your RV cabinets.
Is it worth painting RV cabinets?
Painting RV cabinets is hard work, but the end result is SO worth it! Painting your RV cabinets can allow you to make your RV more homey and personalized to your style and preferences. It’s amazing what a new coat of paint can do.
Can you paint RV cabinets without sanding?
Yes, you can paint RV cabinets without sanding. However, I don’t advise that you do so. Skipping the sanding step of painting RV cabinets can result in the paint not adhering well and peeling off. It’s worth the extra time to sand first.
How long does it take to paint RV cabinets?
It takes 4-8 hours to paint RV cabinets, depending on how many you are doing. If you only paint an island or a small cabinet, you could be done in 3-4 hours. If you are painting a large amount of cabinets or walls, it could take up to 2 days.
In Closing: How to Paint RV Cabinets
I hope that this post about how to paint camper cabinets has been helpful and that painting the cabinets in your RV is not a daunting thought anymore.
RV renovations can take a long time, but the end result is totally worth it!
I really love how our cabinets have turned out so far, and I’m excited to finish up our projects!
Paint isn’t the only way to upgrade your walls! These wallpaper ideas are easily removable and renovation-approved! 👇🏼
Next up: 21 Beautiful RV Wallpaper IdeasFind More RV Renovation Inspiration & Tips:
- 21 Stunning RV Renovations & How They’re Decorated
- 21 Gorgeous RV Bedroom Makeovers
- 21 Beautiful RV Kitchen Renovations
- How to Paint RV Cabinets the Right Way: Easy DIY Guide
- 21 Colorful RV Renovations
- 21+ Cozy RV Bunk Room Ideas For Renovating & Decorating an RV
- Our 5th Wheel RV Kitchen Remodel: Lessons Learned and Tips
- How to Replace RV Slide Trim: Easy Step-by-Step Guide
- 26 RV Bathroom Renovations and Remodel Ideas for 2023

How to Paint RV Cabinets
Total Time: 1 day
-
Do the prep work
Remove any hardware, drawers, and doors from your RV cabinets. Repair any necessary surfaces and then sand everything thoroughly. Clean from the sanding and tape everything off.
-
Prime your RV cabinets
After prepping, apply a coat of Kilz oil-based primer to your RV cabinets. Allow plenty of dry time for the primer to fully cure before adding the cabinet paint.
-
Paint your RV cabinets
After the primer has dried, apply 2-3 coats of paint to your RV cabinets. Allow time for the paint to dry in between coats.
-
Finishing touches
Retouch any necessary places with paint, remove all tape, and rehang any hardware, drawers, and doors on your RV cabinets.
We just replaced our bathroom cabinet and now I want to paint all the things 🤣 thanks for this! Will definitely be referring back to it ☺️
Haha! Have fun with your projects!
Great information! We used chalk paint for our cabinets which does not require primer, but it is harder to keep clean.
I haven’t personally used chalk paint but what I’ve seen others do with it is gorgeous!
This is a great walkthrough of the process! Thank You!!
You’re so welcome!
Great tips! Now if I could only bottle your energy…
Haha!!
Very helpful post, Janae! And I love that you included a video 🙂 I foresee cabinet painting in my future and appreciate the tips and tricks!
Yay! So glad you found it helpful!
This was really helpful! I needed all of this when we painted our RV!
Your renovations turned out beautifully Jen!
Janae this is SO WONDERFUL!! Seriously I have been so nervous to do anything with our rv and this makes me feel like I at least have a heads up on it all!! And I always have you to turn too!🙌🏼❤️ I can’t wait to share!
I can’t wait to see what you do! 😍